music production, Uncategorized
How To Screen Record With OBS
May
One of the challenges with creating music production tutorials is capturing your screen whilst operating your DAW and recording speech at the same time.
This process is especially tricky on Windows, in this article I will explain how to screen record with OBS, the equipment needed to do so, as well as how to set it all up.
Equipment needed:
– A computer/laptop with a DAW installed
– A microphone
– An audio interface
– OBS
– Video editing software
Assuming you have the above equipment, this is the step by step guide to getting your DAW screen capture setup working and to start using OBS to record the screen.
Step 1
Voicemeeter Banana setup
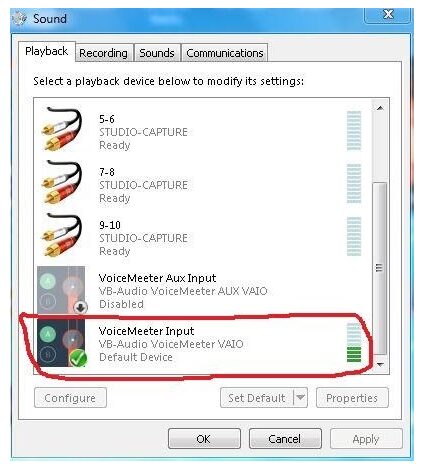
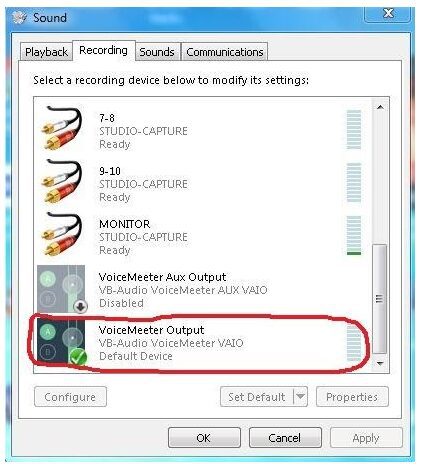
First you need to set Voicemeeter Banana as your default audio in playback/recording devices.
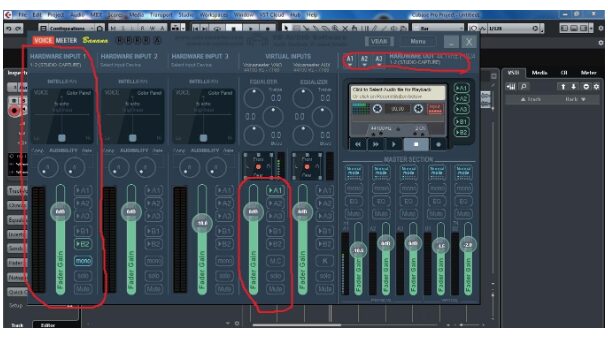
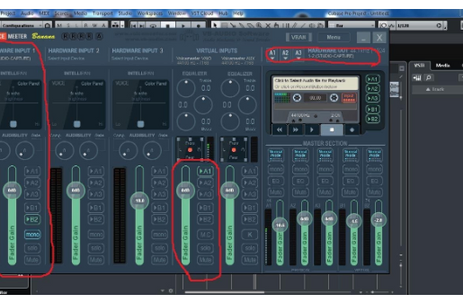
Then you need to route your audio interface through Voicemeeter, mine is the Roland Studio Capture. Select your audio interface as the HARDWARE INPUT 1, this is where your microphone will be going through, so engage the mono button as well.
Then set the virtual input to A1, and finally select A1 HARDWARE OUT to be your interface.
Step 2
DAW setup
Then you need to set up your DAW, in this example, I am using a Cubase session with a single audio track.
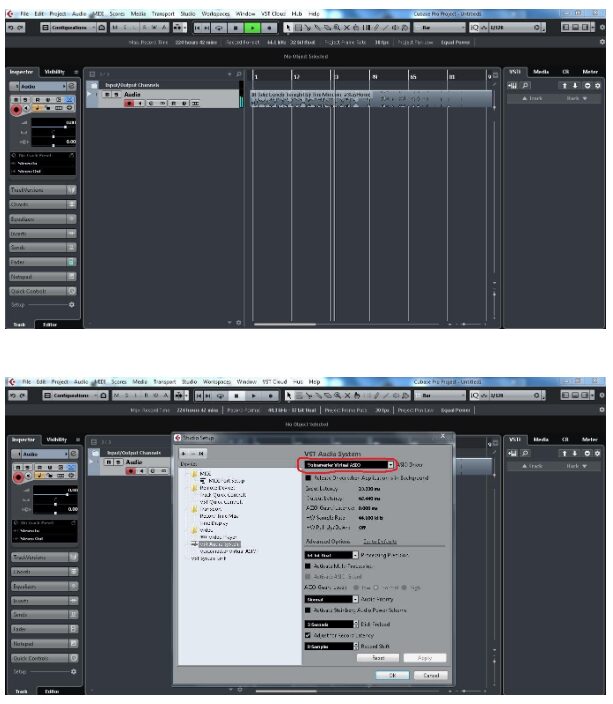
Select ‘Voicemeeter Virtual Asio’ as your AISO Driver, this will allow the audio playback coming from Cubase to be routed through Voicemeeter and into OBS.
Step 3
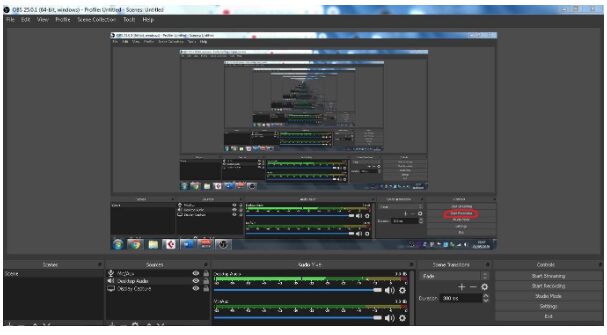
Setting Up OBS For Recording
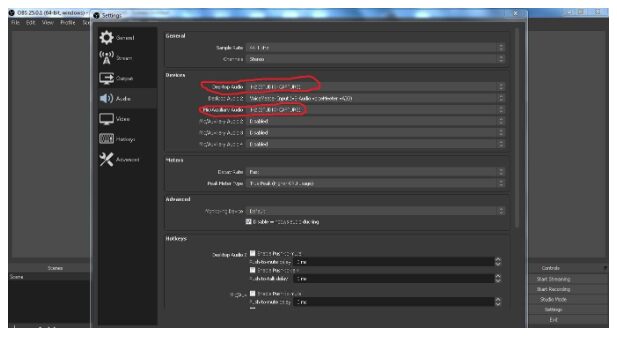
Under the Audio Settings tab in OBS, select your ‘Desktop Audio’ as your audio interface, this will be your DAW playback audio. Then set your Mic/Auxiliary Audio as your audio interface inputs, this will be your microphone audio.
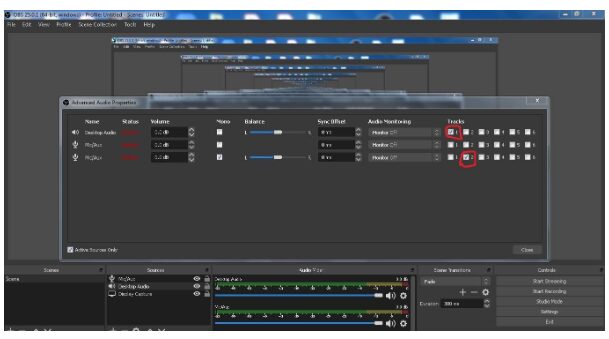
In the advanced audio properties section in OBS, set Desktop to ‘Tracks 1’ and your MIC/Aux to ‘Tracks 2’. This will allow your DAW playback audio to be recorded onto one track with your Microphone audio being recorded to a separate track.
Step 4
Test Recording
How to record screen using OBS? Let’s just say that this software is made for it, so it is just a matter of play the record button.
After you completed the audio set-up, test recording in OBS by pressing the ‘Start Recording’ button, make sure to try both your mic audio and DAW playback to see that they’re both working.
Once you stop the recording, then go your video by clicking ‘File’ and then ‘Show Recordings’, this will take you to your OBS screen recordings folder.
Step 5
Post-Production Edit
Once you have done your recording then you’ll need to import your video into your video editing software (I’m using Sony Vegas here), here you can see three tracks which are the video, the DAW playback audio and the microphone audio.
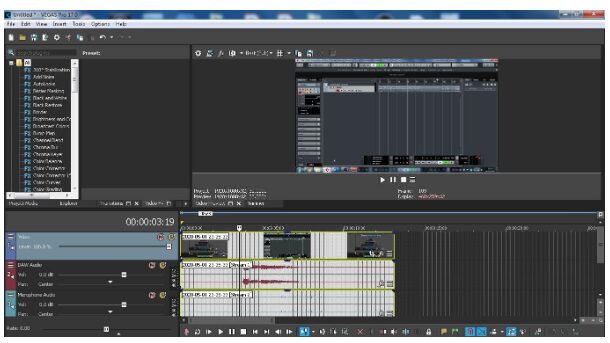
Now you can edit your video as needed and balance your DAW playback audio and your microphone audio.