Piano Lessons, Uncategorized
THREE APPROACHES TO PIANO SCALES PRACTICE
Aug
THREE APPROACHES TO PIANO SCALES PRACTICE
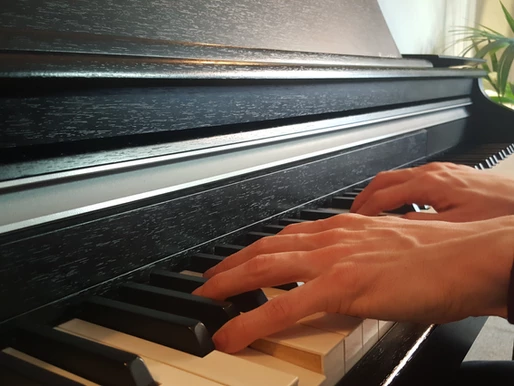
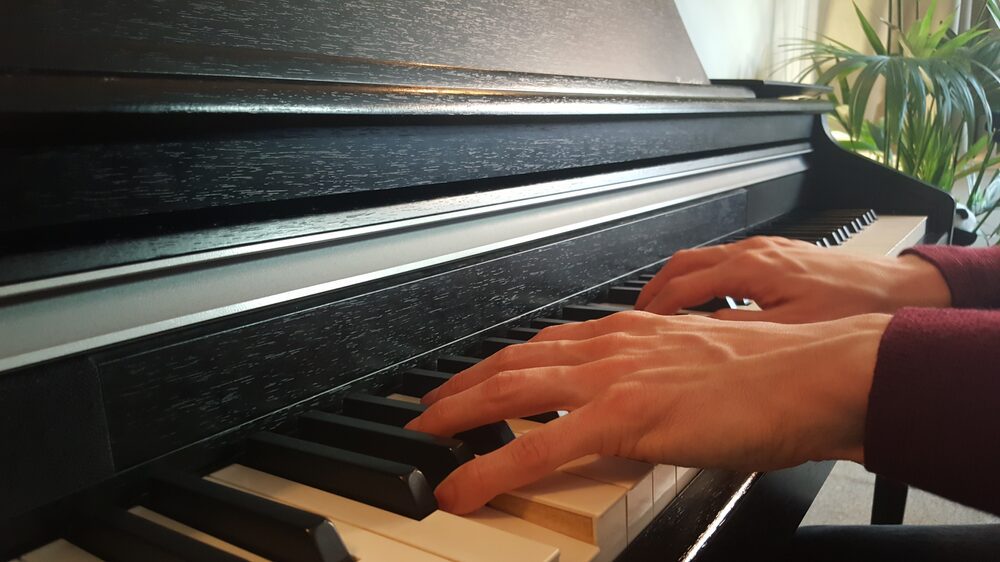
Scales piano
Scales can be boring, dull and tedious…
…Sometimes you wonder why you do them.
However, the reality is that they are very important!
Here four reasons why:
1. They make the fingers nimble
2. They strengthen the fingers
3. They provide a logical thought process with regard to the fingers that are required to execute the notes in a piece you are learning (piano scales fingering is often necessary to refer to in some music pieces you perform. EG- perhaps there is a scalic passage in your graded piano pieces; one example of this could be one of Wolfgang Amadeus Mozart compositions: ‘Piano sonata In C major; K. 545’, or the ‘Mozart piano concerto 21′, is full of scale- based passages wherein you will need to apply your scale fingering knowledge to an actual piece of music!)
4. They are a useful warm up before a concert.
How to practice fingering for piano scales? Three Approaches to Piano Scales Practice:
There are three main Methods common in Scale Practice:
1. Repetition
2. Visualization
3. Kinaesthetic grouping method
1.Repetition
Use a scale book to provide you with the appropriate fingering for a given scale and repeat the scale hands separately until confident and then try with both hands together until it sounds smooth and articulated.
Recommended scale books for reference: ABRSM exam scale syllabus books (Grade 1- 8: respective of individual) or Alfred’s Basic Piano Library: Scales, Chords, Arpeggios and Cadences: Complete Book.
2.Visualization
Purchase a good scale book (see above) and study it away from the piano, imagine the necessary sharps or flats and allow the hand to take the necessary shape on the lap (EG- If D major- The third finger will be slightly raised in preparation of the F sharp that is due to be played).
The next step is to imagine (Hands separately) the necessary fingers on a visualised keyboard in your mind going from the first note to the highest note (imagining the feel/weight/ colour of the keys) to the highest note and back down to the initial note.
Try this hands separately and (if you’re brave enough) try it hands together in the mind- this is very effective. During my undergraduate degree, we had technical classes in musicianship. One element was performing set scales. One week I had done no practice at all, so I spent approximately 1.5 hours visualising my scales before the class, and when I performed them in class, I was more highly commended by my tutor than I had ever been before (even when I had practiced them the week before at a piano).
“When you know what you are doing, you can do what you like” Feldenkrais
3.Kinaesthetic Grouping Method
Kinaesthetic is defined by Cambridge online dictionary as, “the ability to know where the parts of your body are and how they are moving”. I apply this term here in order to suggest a form of practice, wherein the student of the piano is aware of the necessary changes one must make in the body in order to complete a particular movement on the piano.
This requires, initially, a mental visualisation of necessary movements required to complete the scale effectively and smoothly- This is where the grouping methodology comes in!
We need to see this visually:
C Major- (Ascending)
Note Names: C D E F G A B C D E F G A B C
Fingers: 1 2 3 1 2 3 4 1 2 3 1 2 3 4 5
One way of viewing the above material is by seeing it in groups-
Groups are determined by the transition of finger position, for example, if we have fingers 1, 2 and 3 for the first three notes of a scale and then, after playing finger 3, we change the hand position so that finger 1 is on the next note of the scale, this then means that the fingers before that point are Group 1.
So…
In C major, 2 octave, ascent, here is my grouping:
Group 1: C D E
Group 2: F G A B
Groups 3: C D E
Group 4: F G A B C
1 2 3 1 2 3 4 1 2 3 1 2 3 4 5
Physical Element Of This Technique:
The next step is to play these groups with the correct fingers as chords (Group 1 chord means that you hold down, at the same time, notes C, D & E) and then you go up and down, group by group, applying the necessary wrist movements in preparation for the ‘actual’ rendition of the scale (notes played as stand- alone entities ascending and descending, as indicated by scale books).
Summary:
1) Mental assimilation
2) Chordal assimilation
3) Scale to be played as written
This helps in two key ways:
. To memorize technical aspects (fingers, turns, notes)
. Enables the thought process to become instinctual, allowing you more time to consider the musical aspects of performing a scale (articulation/dynamics/arm weight distribution. Etc.)
Spice up your practice of scales on the piano
1) Try playing your scales with different articulations. EG- One Hand could be legato and the other, staccato.
2) Try playing your scales with different dynamics- One hand loud, the other quiet. Perhaps try creating crescendos and diminuendos.
3) Play your scales with a jolted/swung/syncopated rhythm. 4) Play them with your eyes shut.
ENJOY HAVING A GO AT ALL OF THESE TECHNIQUES AND REAP THE INHERENT BENEFITS! ENJOY MUSICKING!
For a further rhythmic study, you can check our next article:
“How to play major Scales”
https://www.piano-composer-teacher-london.co.uk/post/how-to-play-major-scales
THREE APPROACHES TO PIANO SCALES PRACTICE
#pianolessonslondon #pianoteacherslondon #adultpianolessons #pianolessonsforbeginners